christmas in july: advent garland
July 16, 2012(First up, in the “Christmas in July” series, we have my friend, Morgan making adorable advent garland. Be sure to read her brilliant idea on what to put in the bags.)

I love Christmas time, celebrating the birth of Christ and making new memories with my kids. An Advent calendar has been on my to-do list for awhile, so when I saw Kelle’s new ‘Jingle’ line of fabric, I thought this would be the perfect project for it. I played around with a couple ideas before settling on this Advent garland. I really am pleased with how it turned out, and it couldn’t be easier. Thank you, Kelle for inviting me back for another fun tutorial! — Morgan (Sweet Stitches).

Supplies:
– Scissors, marking pen, straight pins, ruler

Step 1:

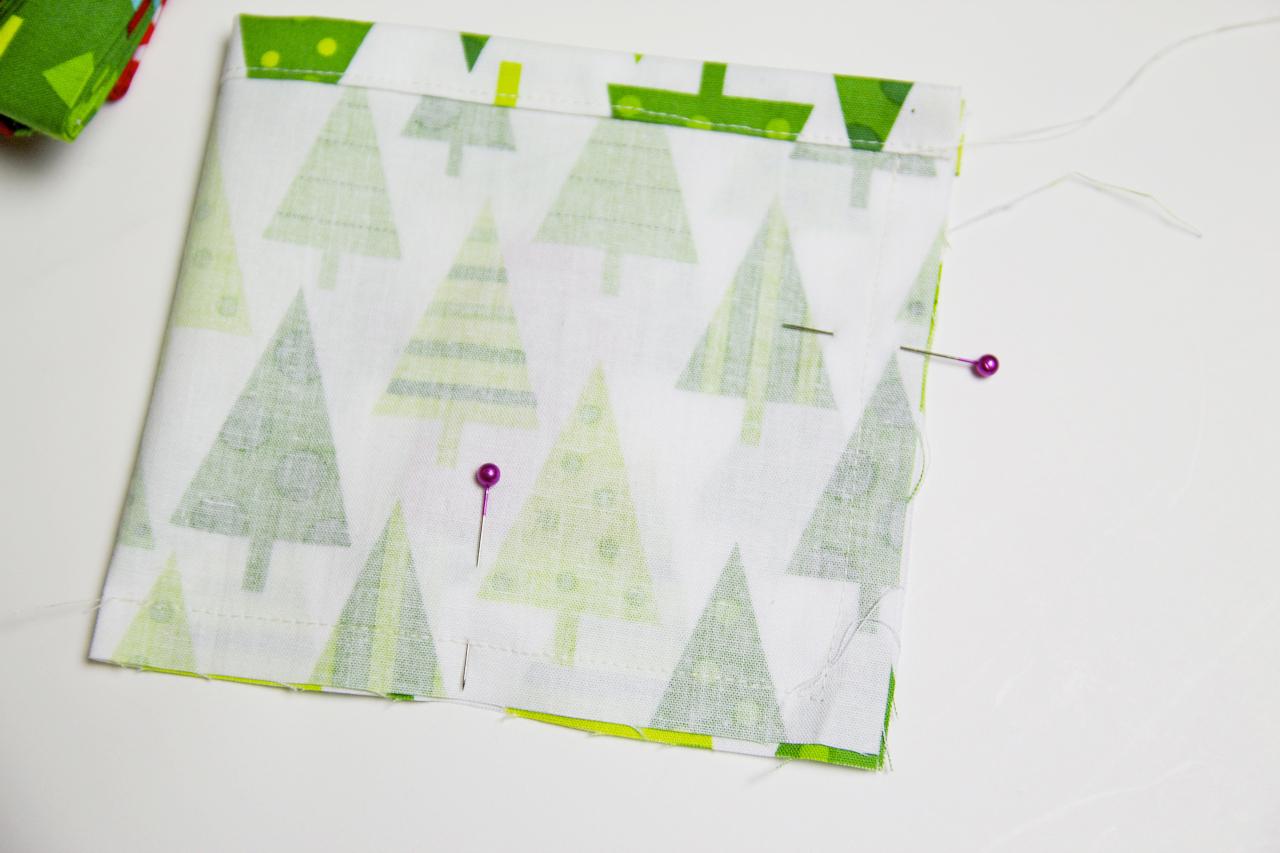
Step 2:
Beginning with your first piece of fabric, fold down the top long raw edge a 1/2″ and press. Fold over again a 1/2″ and press again.


Step 3:


Step 5:

Step 6:

Step 7:
That’s pretty much it! Now all you have to do is attach to one long piece of twine by tying the ends of twine in a knot and threading it onto the longer piece. Do this with all the pouches, putting them in order. I think this project would also look cute on a big tree branch or an old yard stick…there are many possibilities!
Now fill with goodies! You can put whatever you would like in them, including candy and other tiny toys. I like the idea of printing different activities onto little pieces of paper and putting those in the bags. Some ideas are: ‘bake Christmas cookies’, ‘pray for families in need’, ‘watch a Christmas movie’, ‘visit Santa’, ‘look at Christmas lights’, ‘donate a toy to a child in need’, or ‘take treats to Firemen working on Christmas’, things like that.
(photos by Morgan)
This is a fabulous idea, thanks so much for sharing. Whilst it’s a little early for me to be actually make anything for Christmas, (I’m still waiting for Summer to arrive!), I’m definitely going to try this!
Cute! cute!
SUPER cute! Love it! 🙂