DIY decoupage stool
February 22, 2012
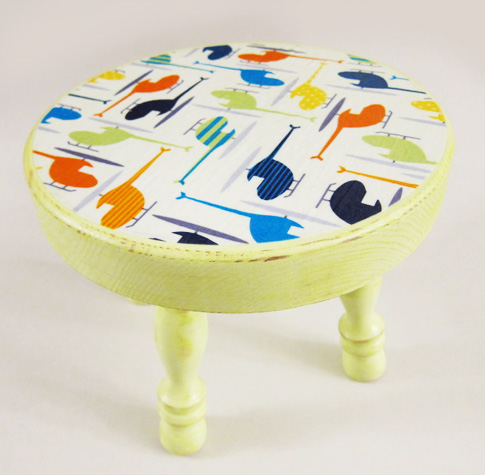
Today I have a special treat for you today. I love painted furniture. But, after unsuccessfully painting a lamp, I retired my furniture painting days and found Kathy. Kathy’s from my hometown Clarksville, TN. After seeing a decoupage project on her blog, I asked if she could do a tutorial for you guys. She came up with this adorable little stool using my Ready, Set, Go fabric. It’s the cutest and I love the look of distressed furniture.
I’m passing the blog post “baton” to Kathy. Hear all about how she made this sweet decoupage stool . . . she even took pictures to accompany her instructions.

Kahty’s DIY Decoupage Stool
List of supplies needed:
– stool or wood project piece
– fabric
– Mod Podge
– paint
– paintbrush
– sandpaper
– scissors
Cost of project approximately $18.00 (taking into consideration only partial use of paint, Mod Podge and other supplies).

This cute little milking stool came from Hobby Lobby. Be sure and clip a coupon or print one on- line for savings on the stool. The lime green paint is leftover from previous projects. I love this lime green and when I’m running low, I run up to Home Depot for more.

Paint the bottom of the stool then flip it over to do the top. I use a cheap little chip brush but any brush will do.

All nice and green!

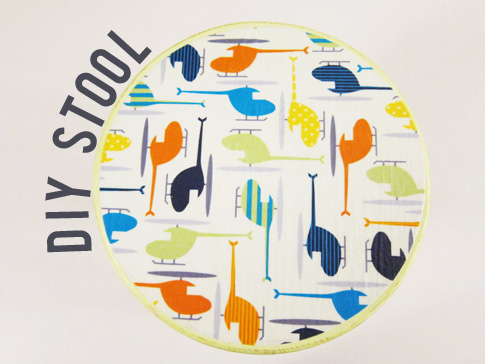
I chose a fabric with brightly colored helicopters from the Ready, Set, Go fabric line. Cut a fabric piece larger than the top of the stool.

Turn the fabric wrongside and brush on Mod Podge. Be sure and cover the entire surface. This step gives the fabric more body and also keeps it from fraying.

After the fabric dries cut a circle to fit the top of the stool. I used the top of a cookie tin to cut my circle. You might have some fancy machine or Circuit thingy but I look around the house until I find something that works. Cut the fabric a little smaller than the top of the stool so that the paint shows around the edge.

Use a brush and cover the bottom side of the fabric with Mod Podge then place top side up onto the stool. Work from the middle of the fabric and smooth out the bubbles using a damp rag.

When the fabric dries, coat the top with Mod Podge to protect the surface. Cover with 3 or 4 topcoats letting dry 20 to 30 minutes in between coats.

The last step is optional. I like the look of distressed furniture so I used a small piece of 60 grit sandpaper to distress the legs and top sides of the stool.

Ta-Da…how cute and so easy. Not taking in to consideration drying time, this is a 3o-45 minute project. What a cute little stool for the kids to sit on while playing or to stand on while brushing their teeth. It might also come in handy when trying to reach the cookie jar on the counter! I love sharing my projects, Kathy, from Petticoat Junktion
(photos from Petticoat Junktion)
[…] post: DIY decoupage stool « Ann Kelle This entry was posted in Uncategorized and tagged adorable, asked, blog, cutest, decoupage, […]