September 06, 2011

Hello again, friends of Kelle! My name is Linda and I am the author of the personal style blog, Little Tin Soldier. I’m returning with another fun back-to-school DIY especially designed for teachers and moms.
Cork bulletin boards are helpful at home and school for organizing notes. Dress them up with fabric and ribbon to create a cheerful (and easily readable) work of art for your family or students.
Daisy Mae Bulletin Board
Materials:
– Cork bulletin board (with or without frame)
– Fabric (featured fabric by Ann Kelle)
– Assorted ribbon
– Manila shipping tags
– Markers
– Stapler
– Pushpins or thumbtacks
Directions
1. Lay the bulletin board on top of your fabric. The right side of both board and fabric should face down.
2. Trim the fabric and leave at least 2″ fabric on each side.
3. Beginning with one side, fold the fabric over the back of the board and secure with a stapler or pins.
4. Repeat for all sides, pulling fabric taught as needed.
5. Turn the board over.
6. Use wide strips of ribbon to create columns and secure with a stapler or pins.
7. Add manila shipping tags to designate days of the week (or use names for a family or group). Secure with pins.
8. Organize activities, business cards, or notes by pinning them to the appropriate column of ribbon.
(photo by Little Tin Soldier)
posted by kelle at 11:09 am
August 16, 2011
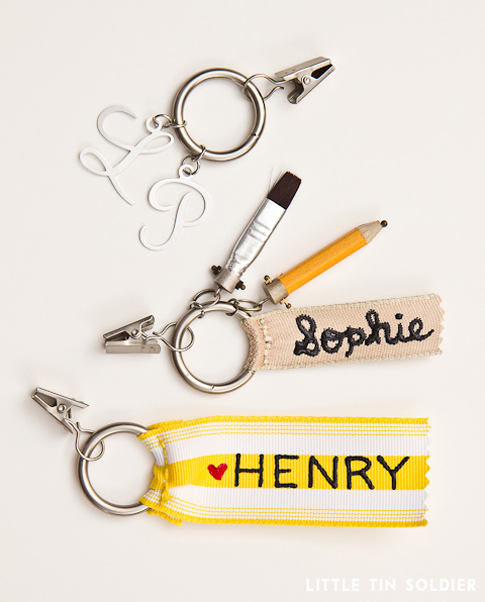
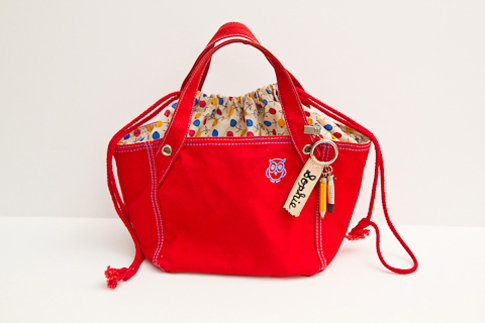
(Today I have a treat for you! One of my favorite style blogger’s Linda from Little Tin Solider has a super easy + cute DIY project. She’s the best! xo, Kelle)
My name is Linda and I am the author of the personal style blog, Little Tin Soldier. I’m a big fan of Kelle’s artwork, and I am honored to share a back-to-school DIY with her readers.
As a schoolteacher, I understand that families spend a fair amount of money on supplies, clothing, and backpacks. Inevitably some of those items end up in lost-and-found or even long-and-forgotten. Let’s help out our amazing kids with attachable (and detachable) name clips! Here are the instructions:
Name Clippies
Materials:
– 1″ curtain ring clip
– Assorted ribbon
– Needle and thread
– Assorted charms
– Jump rings
– Jewelry pliers
– Puffy paint
Directions
1. Choose a clip style.
2. For a monogrammed clip, attach silver letters or charms (available at most craft stores) to the curtain ring with jump rings. Decorate with your child’s initials (as shown) or spell out his/her entire name.
3. For a charmed clip, attach charms to your child’s liking. Fold and sew a 3/4″ ribbon along the edges of the curtain ring. Using puffy paint, embellish with his/her name.
4. For a ribbon clip, fold and sew a 1.5″ ribbon along the edges of the curtain ring. Using puffy paint, embellish with his/her name.
5. Allow the paint to dry for 24 hours.
6. Clip to your child’s lunch sack, sweater, jacket, or backpack.
(photos by Little Tin Soldier)
posted by kelle at 8:08 am
August 02, 2011
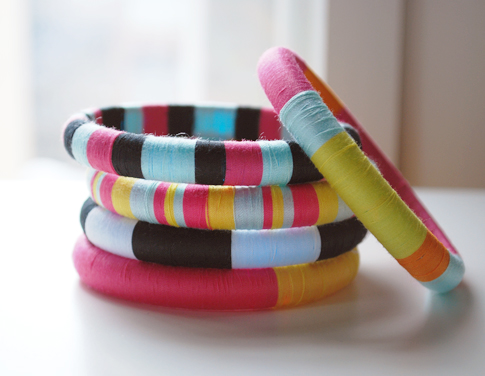
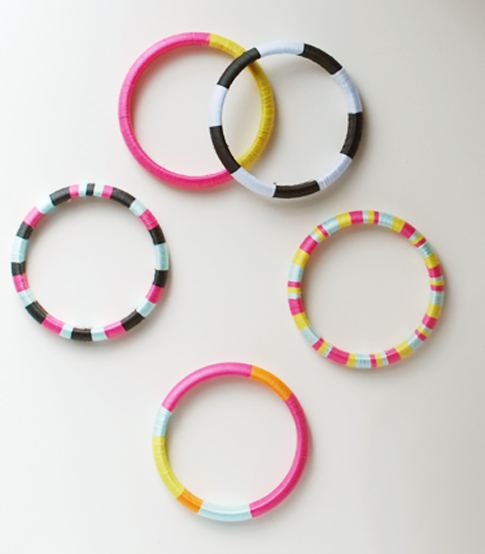
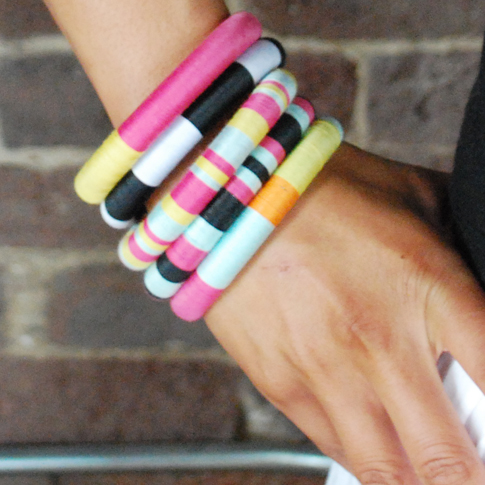
Kelle has tons of old plastic bracelets from her days of growing up in the 80s. We thought it would be fun to turn these old plastic bracelets into playful, one of a kind jewelry. Here’s an easy DIY that is perfect to do while you watch a movie — Karen
(more…)
posted by kelle at 10:08 am
July 11, 2011
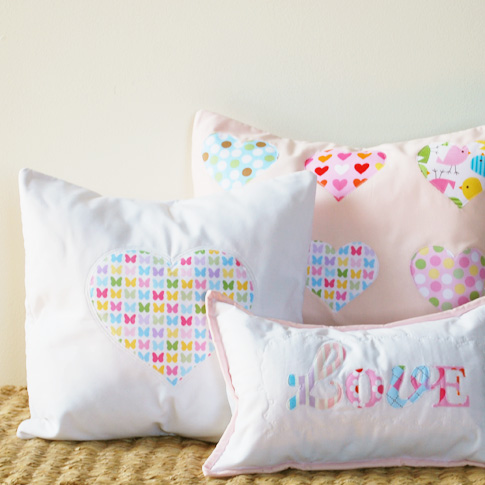
I have something for you today. Not one, but 3 pillows patterns. I thought you might need something sweet to make this summer. Download your free patterns here, here, and here .
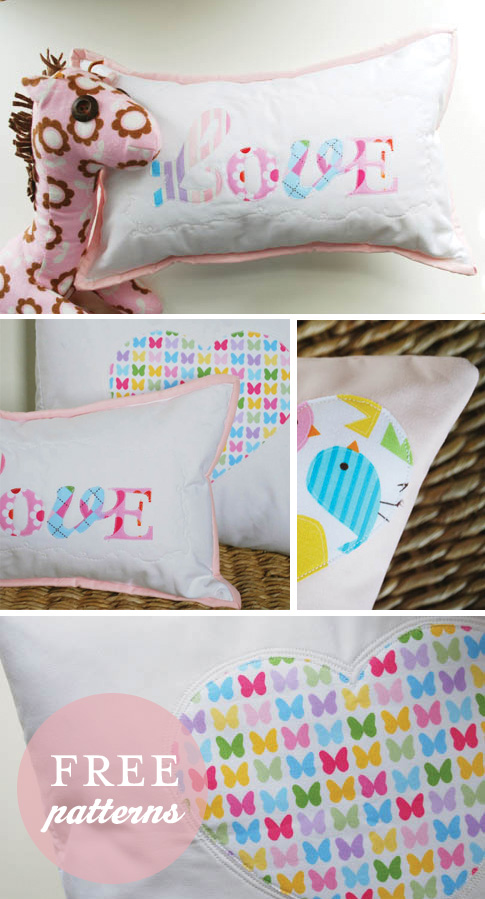
* A special thanks to Anna Joy Pham for taking my ideas and turning them into patterns.
(photos by Ann Kelle)
posted by kelle at 10:07 am
June 28, 2011
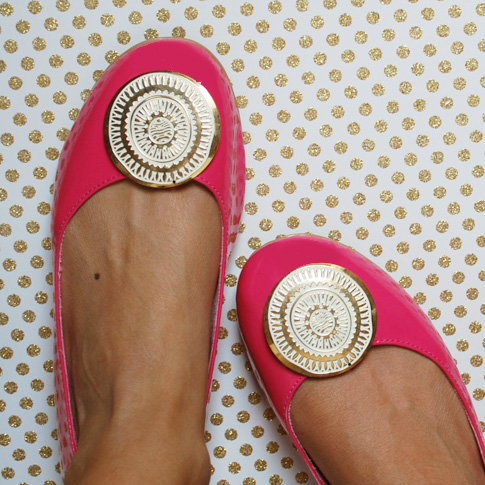
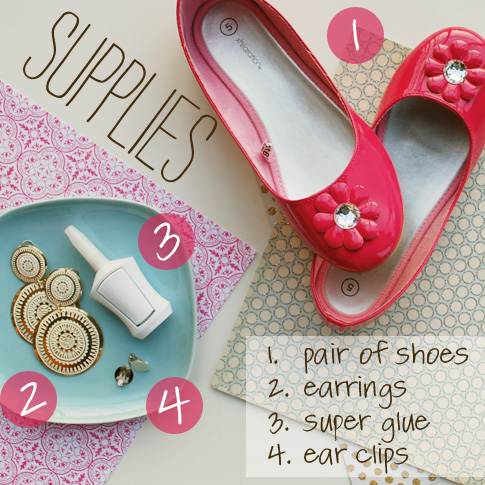
Here’s how to make $20 shoes in less than 5 minutes. To start out, buy a pair of inexpensive shoes or use an old pair. I saw these shoes but thought they looked kinda childish . . . okay, okay, this might be because they ARE kid’s shoes. Anyhow. They were pink. For your pendant, use an old pair of big earrings or buy a cheap pair.
1. Take off any adorning pendants
2. Put the ear clip on your shoe to get an idea of where the pendant will be. Mark the place where to glue the pendant.
3. Glue the pendants to the ear clips. I used super glue, but a hot glue gun might work.
4. Allow time to dry.
5. Do a happy dance in your new shoes

(photos by Ann Kelle; costs shoes $9.99, earrings $3.80, ear clips: $2.99, super glue: $1.99 )
posted by kelle at 9:06 am
May 27, 2011
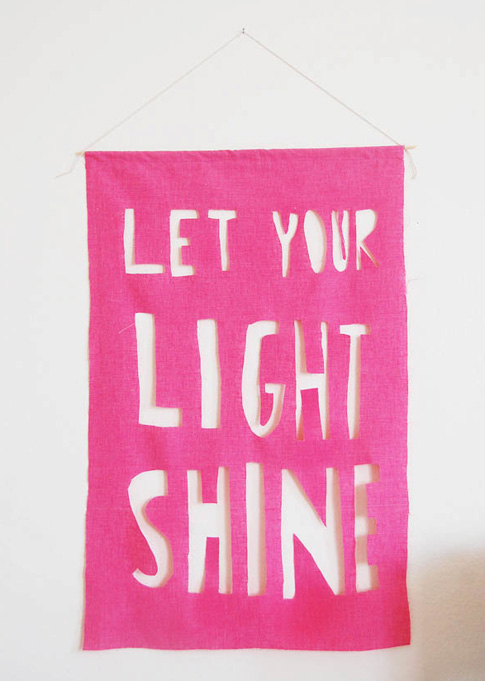
Hope your weekend is great. Filled with lots of sunshine. I have tons of family coming to town for a graduation. I have to finish up some work projects, but I’m definitely going to squeeze in family time. Enjoy!
(Photo by Rubyellen of Cakies. Read more about her craft project here.)
posted by kelle at 9:05 am
March 31, 2011
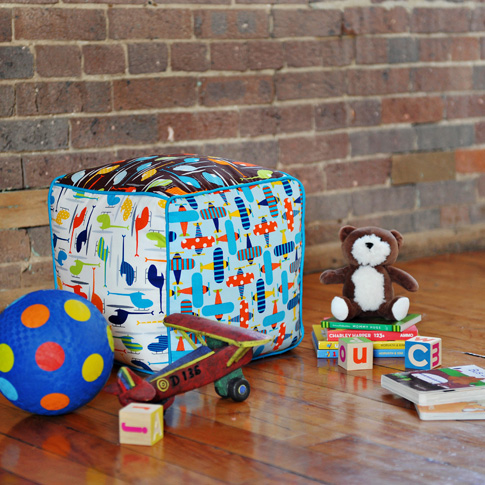
Sit on it, push it, toss it . . . it will give your little one hours of fun. Get your free download here.
(photo by AngelaCrutcher)
* Cube insert courtesy of Downlite.
posted by kelle at 8:03 am
February 11, 2011

There’s a lot of heat’n bond fun going on over at the Ann Kelle studios. I told ya it’s my new BFF. Here’s another no-sew project. Find the instructions below.
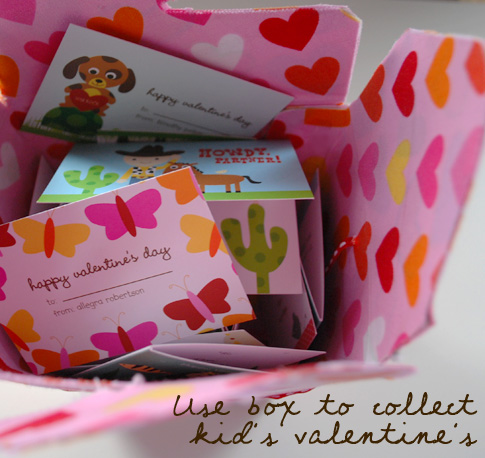
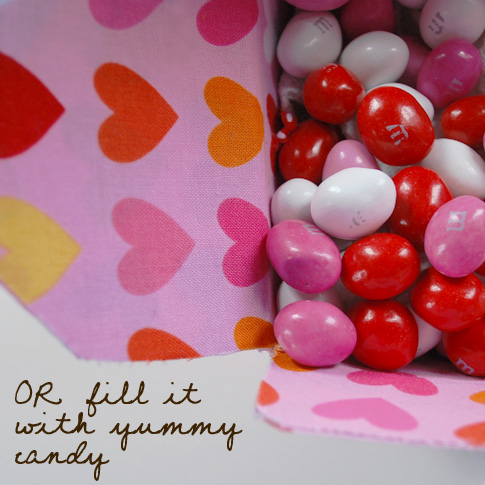
Heart Box Supplies:
– fabric
– Heat’n Bond iron on adhesive
– iron
– scissors
Heart Box Instructions:
1. Unfold box
2. Measure length and width of box
3. Cut fabric and Heat’n Bond according to the measurements of the box
4. iron fabric on to Heat’n Bond (iron onto the sticky side of the Heat’n Bond)
5. use unfolded-box as a template to cut out box shape from fabric
6. iron fabric to the unfolded-box
7. repeat steps 4-6 if you are covering the inside
(photos by Ann Kelle)
posted by kelle at 8:02 am
February 08, 2011

My sewing teacher had a hunch that I need a break from learning to sew. So, she introduced me to my new best friend, Heat’n Bond. It makes playing with my fabric super fun and easy. I made these cute pencil toppers for Valentine’s Day . . . although, I’ll probably have them on my desk year round. Here are the instructions.
Heart Pencil Toppers Supplies:
– fabric (3 inches x 7 inches)
– Heat’n Bond iron on adhesive (3 inches x 7 inches)
– iron
– scissors
– cardstock paper
Heart Pencil Toppers Instructions:
1. Print out heart templates (small and large) on card stock paper. Cut out shapes.
2. Place fabric on top of the sticky side of Heat’n Bond.
3. Iron fabric piece to Heat’n Bond
4. Using heart templates, cut out small and large heart from fabric piece
5. Peel off the back of Heat’n Bond from small heart
6. Iron fabric/Heat’n Bond to the small paper heart (this will make it more sturdy)
7. Peel off back of Heat’n Bond from large heart
8. Place pencil in the middle of heart in between the fabric pieces
9. Iron around the heart and leave a space for the pencil to be inserted
10. Trim off any excess pieces

(photos by Ann Kelle)
posted by kelle at 7:02 am


